Create Custom Reusable Metrics for LLM Evaluation
In addition to the default Metrics, Vellum makes it easy to define custom Reusable Metrics tailored to your specific business logic and use-case. This saves you time and ensures standardized evaluation criteria for your Prompts, Workflows, or external entities you’d like to test.
Let’s create your first Reusable Metric
- Visit the Evaluations tab in Vellum and open the Metrics page
- Click the blue Create Metric button at the top-right of the page to open the Create Metric modal
- From the Metric type dropdown, select JSON Schema Match. To learn about Metric types other than JSON Schema Match, see Vellum’s Available Metric Types.
- In the “Label” field at the top left, enter “My First Metric”. The “Name” field should autopopulate. This is a unique name that you can use to programmatically identify this Metric.
- In the “Description” field, type in “My first Metric description”
- Click next to configure your Metric and define what the expected output should match
- Add “name” and “email” properties to the JSON schema
- Click Finish to exit the modal and see your newly added Metric card on the Metrics page
Congrats! You’ve now created a Reusable Metric that will be visible when selecting and configuring Metrics within any Test suite.

Available Metric Types
JSON Schema Match
Check that the output matches a specified JSON schema.
Returns a score of 1 if the output matches the schema, and 0 otherwise.
Workflow
Run a Workflow to evaluate the output.
See Workflow Metric for more details.
Code
Run custom Python code to evaluate the output.
The code must include a function named main that takes the function arguments specified when creating the Metric and returns a dictionary with the key score.
Code Execution Metric
The Code Execution Metric allows arbitrary Python code execution to be used to produce scores for LLM outputs.
It is intended as a quick and powerful way to format outputs and write conditionals without the restrictions of Jinja or Regex.
After selecting the “Code Execution” Metric in the UI, a code editor will be provided.
There will be a template with the bare minimum for the Metric to run: A main() function that returns a score.
Examples
JSON Comparison
While JSON Validity checks for whether the output is JSON and JSON Schema Match checks if the output conforms to a structure, neither checks for exact key/value matches per test case. Using the following Python code, it’s possible to check that the output matches a known JSON regardless of order or spacing.
Ignore Whitespace
A common problem with exact match comparison using LLM outputs is that often there is additional leading or trailing whitespace. We can create an exact match Metric that ignores such whitespace with a few short lines of Python.
Code Packages
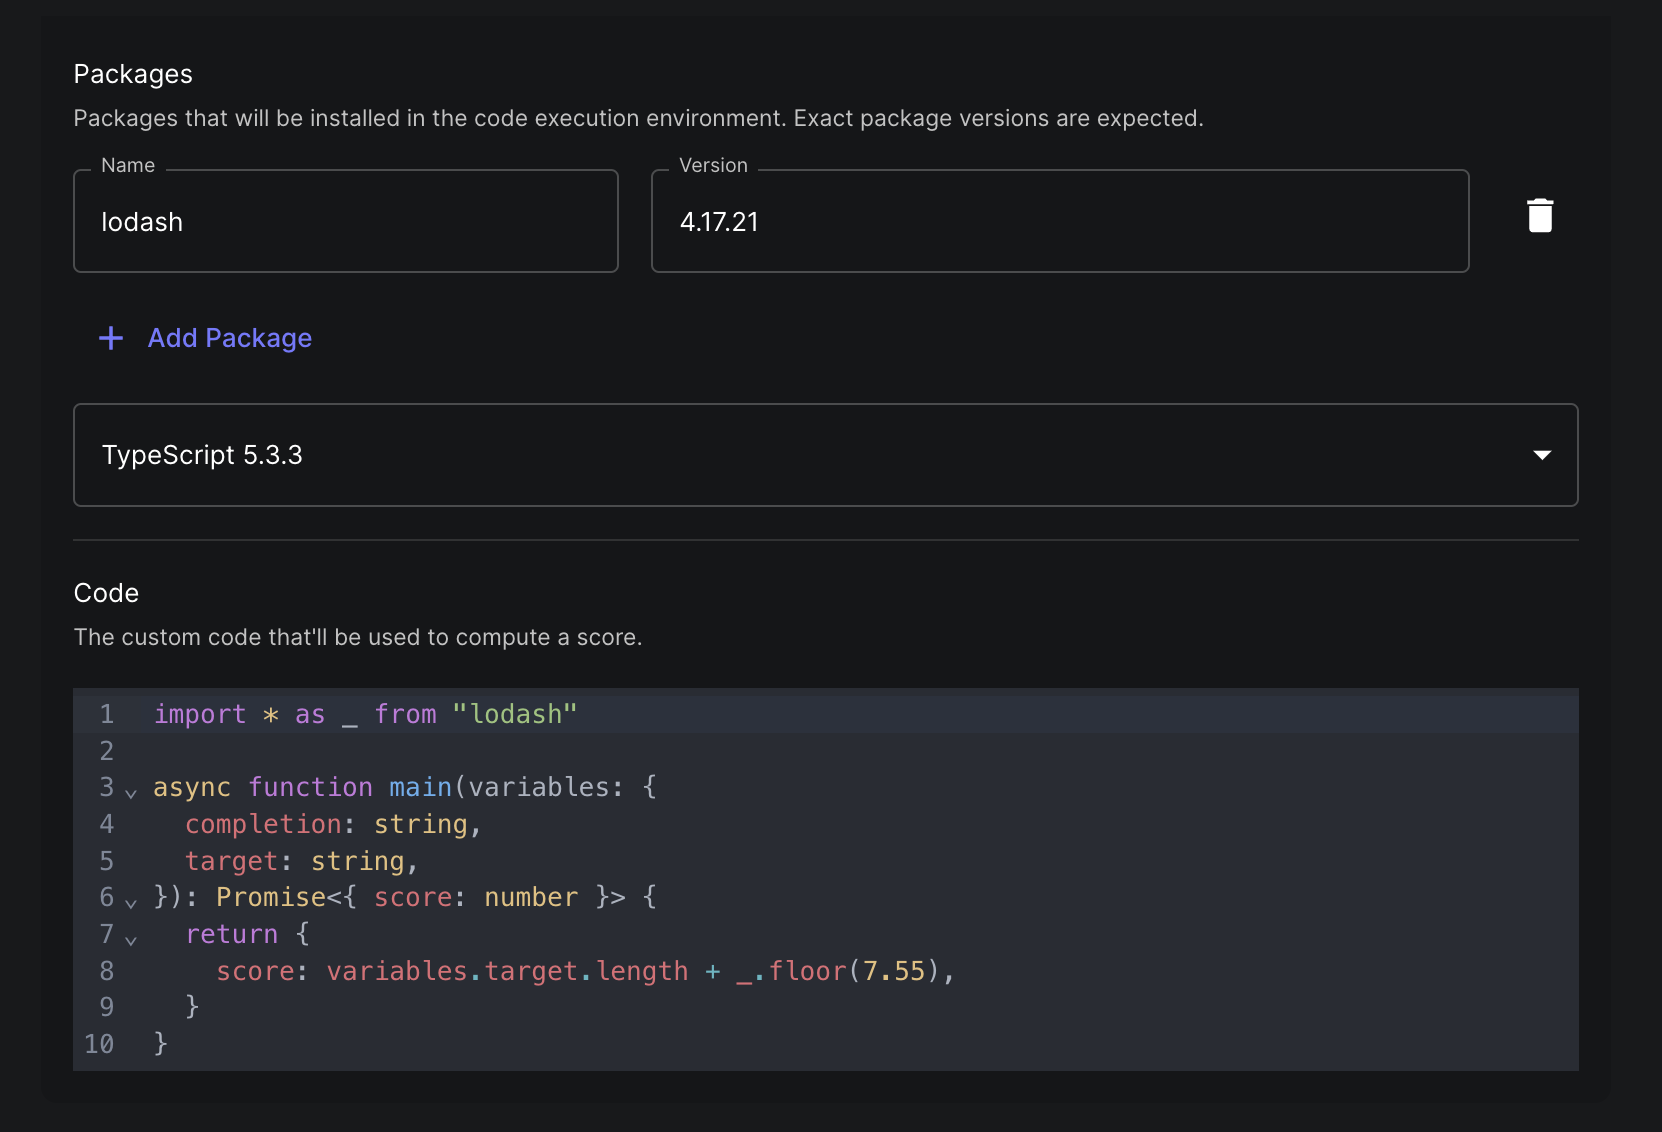
You can add both pip packages for Python code and npm packages for TypeScript code. You must provide exact package versions and add the import to your code yourself.
Note that whenever you update your packages list, the first execution after doing so may be slow due to our system creating and caching the custom runtime.

Workflow Metric (using LLMs to evaluate LLMs)
The Workflow Metric allows you to use a Workflow to evaluate outputs, allowing LLM based evaluation for outputs that may be hard to score via traditional methods.
The Generic LLM Metric
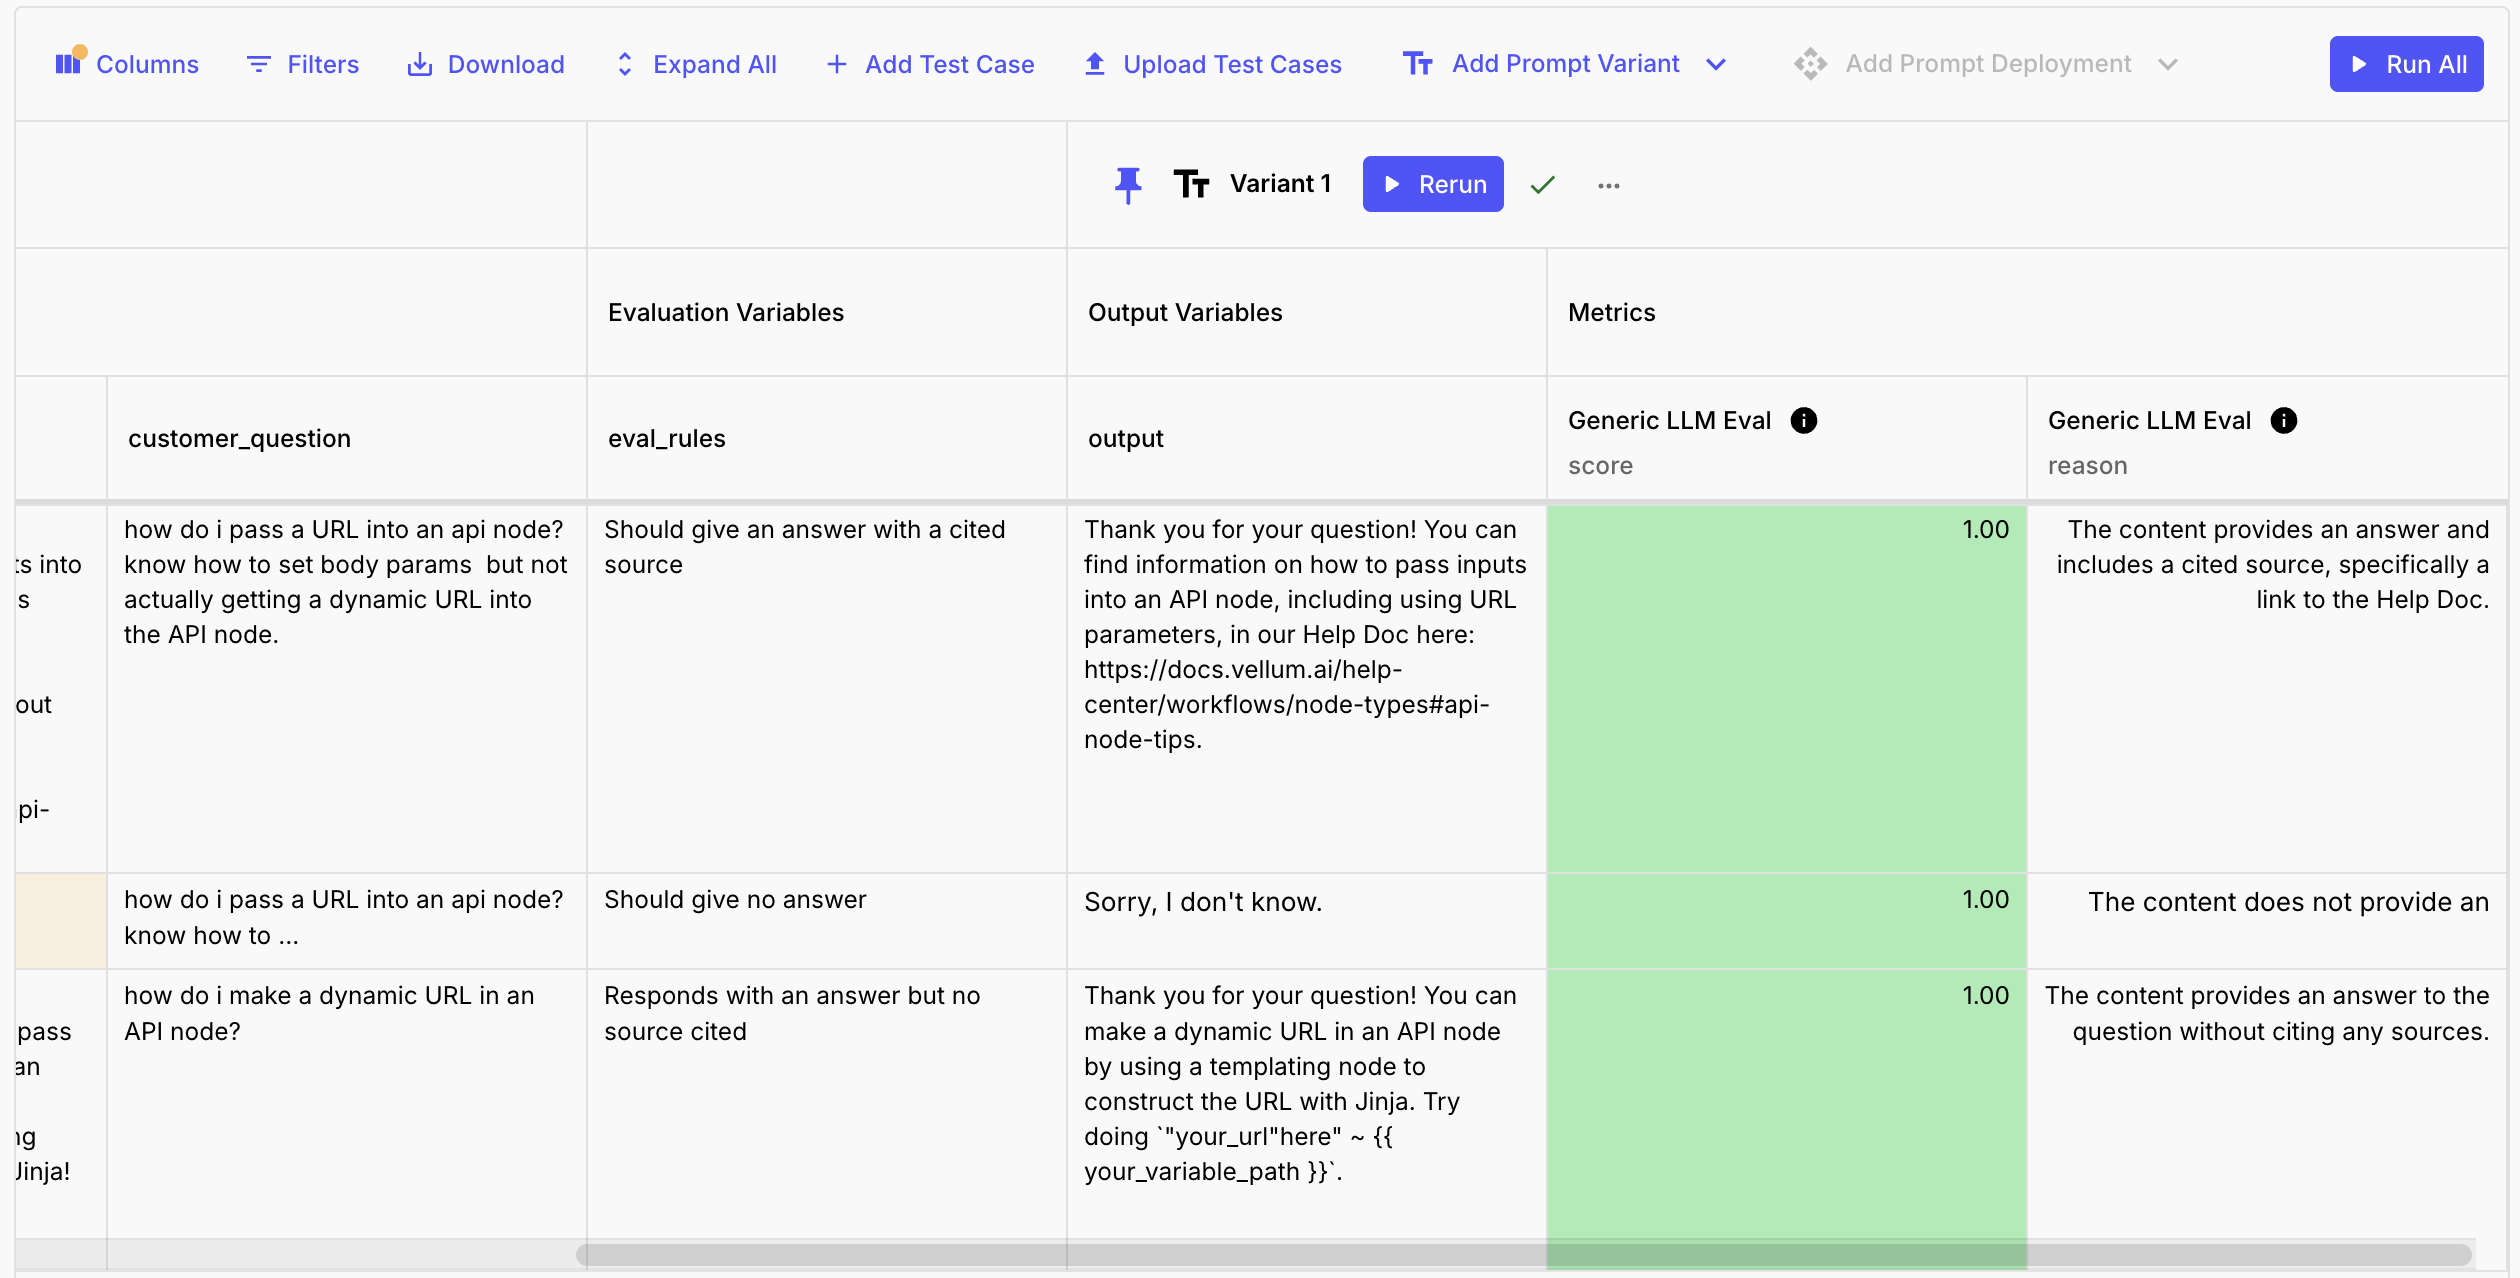
We’ve built a Metric that you can use in your test suites to evaluate the outputs of your Prompts and LLMs using another LLM. This example simply takes a rubric, or set of rules, outputs a 1 if the output passes the criteria in the rubric, or a 0 if it does not, and also outputs a reason for the provided score. You can extend this to give scores between 0 and 1, or to provide more detailed feedback.
Example Workflow
Using the Metric
Add the Metric to your test suite and add a new input which we’ll use to tell the Metric how it should score the output that it’s evaluating.

Two Ways To Use This Metric
Option #1: Different assertions on different test cases
Add a new input to your test suite, connect it to this Metric, and use different rules in that input for each test case. For example: one row checks that the user is addressed by name during introductions, but this isn’t a condition we’d want to test on every test case. It will ultimately depend how you split up your Workflows and Prompts (unit testing vs. integration testing).
Option #2: Same assertion on every row
Add multiple copies of this Metric to your test suite, rename each one according to its purpose, and hardcode a different rule for each. For example: one could check that every output of a Q&A bot cites a source, another could check that every output of a Math Assistant shows its work.
Setting up an Metric Workflow
- Create a new Workflow Sandbox.
- Add one input variable for each Test Suite variable you want to pass to the Workflow. You’ll map these to the Test Suite variables when setting up the Metric later, so you can name them anything you want. Examples of variables you may want to include: the output to be evaluated, the desired output, the inputs to the evaluated prompt.
- Create a Final Output, set the name to
score, and set the output type to Number. - [Optional] - create additional outputs to provide more context about the
score(“rationale” or “summary” or “chat history” etc.). Great for debugging! - Fill in the logic of your Workflow!
- Deploy your Workflow using the Deploy button in the top right corner of the Workflow Sandbox.