Environments
Introduction to Environments
Vellum provides first-class support for managing different deployment stages through Environments. Environments allow you to maintain proper isolation between your development, staging, and production workflows while providing a unified management experience.
What Changes vs What Stays the Same
Understanding what differs between Environments versus what remains consistent is crucial for effective Environment management in Vellum.
Shared Across All Environments (Definitions)
The following definitions are shared across all Environments within your Workspace:
- Prompt Sandboxes: The actual prompt templates, blocks, and configurations you create
- Workflow Sandboxes: The workflow graphs, nodes, and logic you build
- Test Suites: Your evaluation frameworks and test case definitions
- Document Index schemas: The structure and configuration of your document indexes
- Metric Definitions: Your custom evaluation metrics and scoring logic
Key Insight: When you create or modify a Prompt Sandbox or Workflow Sandbox, those changes are independent of the Environment. The sandbox definitions themselves are not environment-specific.
Environment-Scoped (Configuration and Data)
The following configuration and data are isolated per Environment:
- API Keys: Each Environment has its own set of API keys for secure isolation
- Deployment Releases: A Deployment’s Release history are tracked separately per Environment
- Document Index data: Uploaded documents and their content are Environment-specific
- Monitoring data: Execution logs, metrics, and observability data are filtered by Environment
- Environment Variables: An Environment Variable’s values can be configured differently for each Environment
- Workspace Secrets: Can have different values per Environment
Important: While Prompt and Workflow Sandboxes are shared definitions, their deployment release history is Environment-scoped. This means you can have different versions deployed in different Environments.
Practical Example
Here’s a concrete example of how this works:
- You create a Prompt Sandbox called “Customer Support Bot” with specific prompt templates
- This sandbox is visible in all Environments - Development, Staging, and Production
- You deploy from this sandbox:
- Development Environment gets Release v1.0
- Staging Environment gets Release v1.0
- Production Environment gets Release v1.0
- You modify the Prompt Sandbox to improve the responses
- The changes are immediately visible across all Environments in the sandbox
- You deploy the updated version to your Development Environment:
- Development Environment now has a second Release tagged v1.1
- Staging and Production still have Release v1.0
- After testing, you promote Release v1.1 to your Staging Environment:
- Staging Environment gets Release v1.1
- Production still has Release v1.0 until you choose to promote
This approach allows you to iterate on your prompts and workflows while maintaining strict control over what’s deployed in each Environment.
Understanding Sandbox Behavior Across Environments
A common point of confusion is understanding how Prompt Sandboxes and Workflow Sandboxes behave when switching between Environments. Here’s what you need to know:
Sandboxes Are Environment-Agnostic
- Same sandbox, all Environments: When you switch Environments, you’ll see the exact same Prompt Sandboxes and Workflow Sandboxes
- Shared development experience: Your team can collaborate on sandbox development regardless of which Environment they’re viewing
- Consistent definitions: The prompt templates, workflow graphs, nodes, and configurations remain identical across Environments
Runtime Behavior: While the sandbox definitions are identical across Environments, the runtime behavior of that Prompt/Workflow Sandbox may differ based on which Environment you have active, if that Prompt/Workflow references Environment Variables or Document Indexes.
Only Deployment History Differs
- Environment-specific releases: Each Environment maintains its own deployment release history from these shared sandboxes
- Independent versioning: You can deploy different versions of the same sandbox to different Environments
- Isolated testing: Changes to sandbox definitions are immediately visible everywhere, but deployments are controlled per Environment
Mental Model: Think of sandboxes as your “source code” and deployments as your “compiled applications.” The source code is shared, but you can compile and deploy different versions to different Environments.
Environment-Scoped Resources
All major Vellum resources are scoped to specific Environments, ensuring complete isolation between your different deployment stages. The Vellum UI shows your active Environment at the top of most pages, making it clear which Environment context you’re working in.

Environment Picker: Look for the Environment picker at the top of the Vellum interface to see which Environment context you’re currently working in and to switch between different Environments.
API Keys
Each API key is scoped to a specific Environment. When you make an API call, it performs actions within the context of the Environment from which the API key was created. This ensures that your development API calls never accidentally affect your production data.
API Keys are created under Workspace Settings at https://app.vellum.ai/organization?tab=workspaces&workspace-settings-tab=environments

API Key Management: Navigate to Workspace Settings to manage your Environment-specific API keys. Each Environment maintains its own separate set of API keys for proper isolation.
Releases
Each Deployment maintains separate Release history per Environment. You can deploy different versions to your various environments independently, allowing you to test changes in development and staging before promoting them to production.
Sandbox vs Deployment Relationship: While your Prompt Sandboxes and Workflow Sandboxes are the same across Environments, each Environment maintains its own deployment release history. This means:
- The sandbox definition (prompts, workflows, nodes, etc.) is shared
- The deployment releases created from those sandboxes are Environment-specific
- You can have v1.0 deployed in Production while testing v2.0 in Development using the same underlying sandbox
Document Indexes
Documents uploaded to a Document Index are Environment-scoped and only appear in search results within the same Environment context. This ensures that your development documents don’t interfere with production search results.
Monitoring Data
Execution and monitoring data are filtered to show only requests made within the active Environment context. Use the Environment picker at the top of the page to switch between different Environment data views.
Environment Variables
Environment Variables allow you to configure variables whose values are different based on the Environment in which they’re used. This is particularly useful for managing configuration values like API keys, endpoints, or other settings that need to vary between development, staging, and production Environments.
Use Cases
A common use case is having an API Node in a Vellum Workflow that connects to an external service like the Firecrawl API. You might want to use one API key when the Workflow is run within your Development Environment and a different API key when the Workflow is run in Production.
Creating Environment Variables
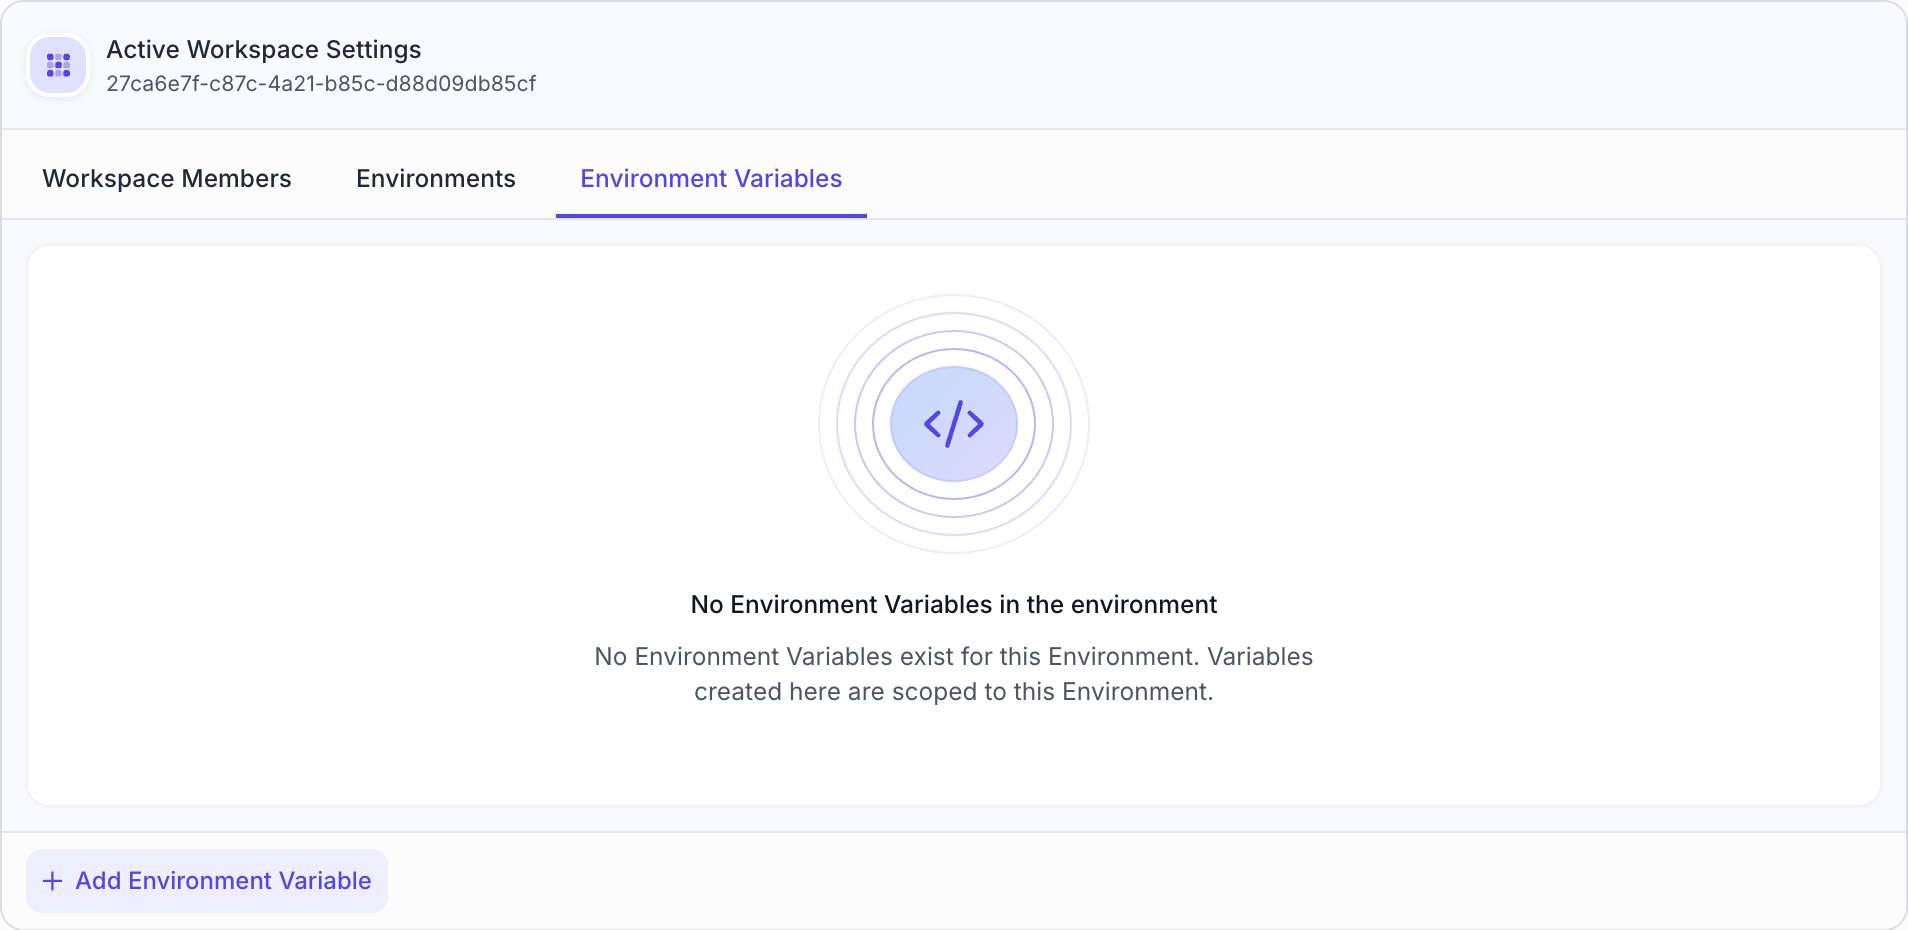
To create an Environment Variable:
- Navigate to Workspace Settings and select the Environment Variables tab
- Click Add Environment Variable to create a new variable
- Define the variable name (must be in
CAPITALIZED_SNAKE_CASEformat) - Configure values for each Environment
Configuring Variable Values
When creating an Environment Variable, you can specify its value within each Environment. The value can be configured in two ways:
- Constant string: Good for non-sensitive values that can be stored as plain text
- Secret reference: More common and recommended for sensitive values like API keys, which references a Secret from your Workspace Secrets
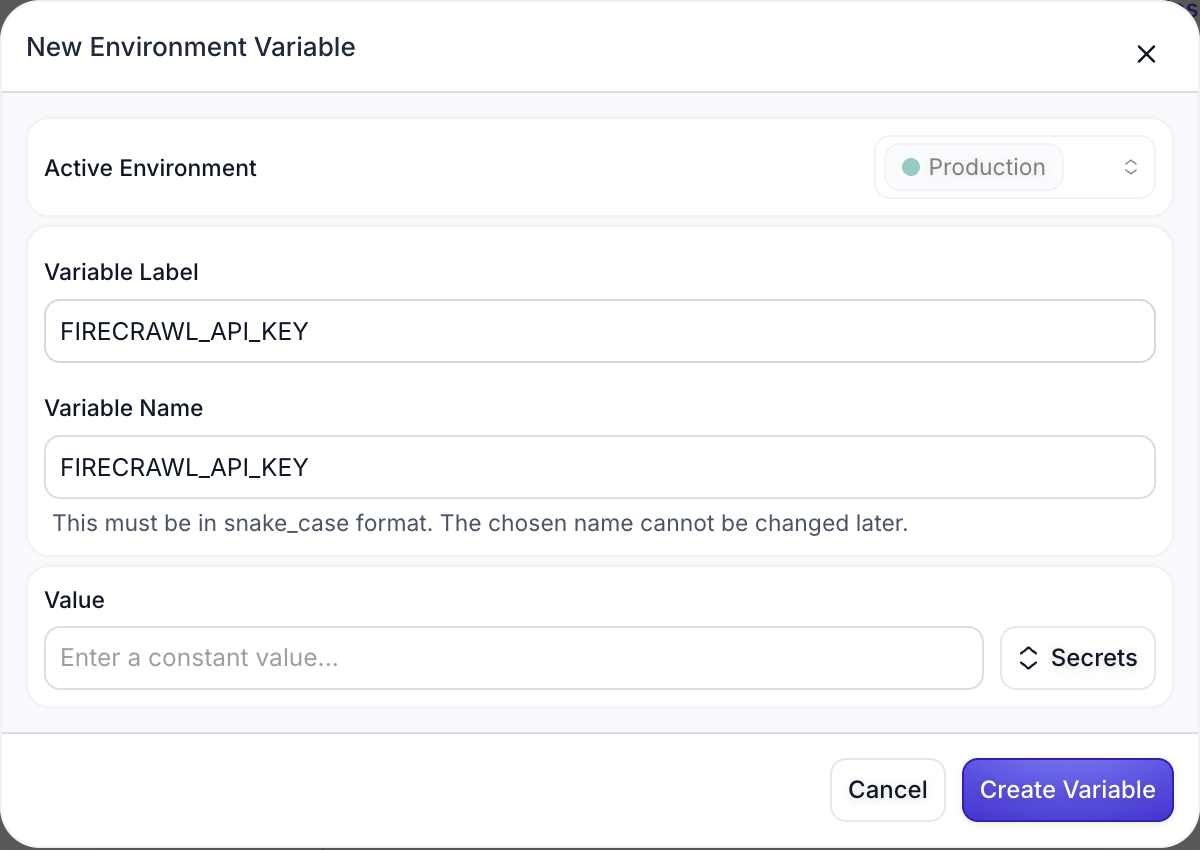
Variable Naming: Environment Variable names must be in snake_case format and cannot be changed after creation. Choose descriptive names that clearly indicate the variable’s purpose.
Using Environment Variables in Workflows
Once defined, Environment Variables can be referenced as Node inputs in Workflows. The variable’s value is automatically determined by whichever Environment you have active when the Workflow executes.
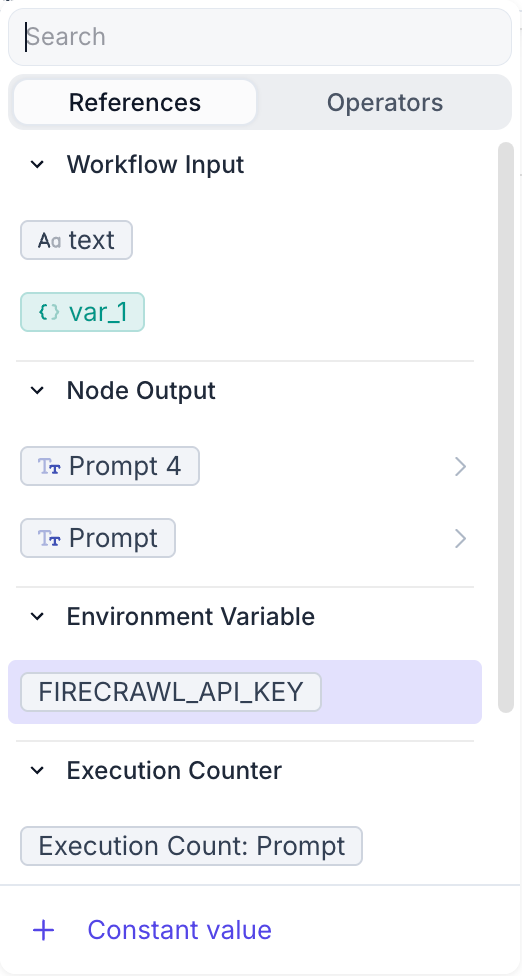
Environment Variables appear in the input selection dropdown under the Environment Variable section, making them easily accessible when configuring Node inputs.
Best Practices for Environment Variables
- Use descriptive names: Choose clear, descriptive variable names that indicate their purpose (e.g.,
FIRECRAWL_API_KEY,DATABASE_URL) - Prefer Secrets for sensitive data: Always use Secret references for API keys, passwords, and other sensitive information
- Document your variables: Maintain clear documentation of what each Environment Variable is used for
- Test across Environments: Verify that your Environment Variables work correctly in all target Environments
- Use consistent naming: Establish naming conventions for your team (e.g.,
SERVICE_NAME_API_KEY)
Recommended Deployment Approach
For optimal organization and workflow management, we recommend:
One Deployment per Prompt/Workflow Sandbox
Instead of creating separate deployments for each Environment, use a single deployment and leverage Environments for isolation. This approach:
- Reduces complexity in managing multiple deployments
- Provides better organization and visibility
- Takes full advantage of Environment-level isolation and permissions
- Simplifies the promotion process between Environments
Use LATEST Tag with Semantic Versioning
For most use cases, rely on the LATEST tag (or specify no tag, which defaults to LATEST). This automatically incorporates any changes that you deploy from your Prompt or Workflow Sandbox.
When you need more granular control, use Release Tags following semantic versioning conventions. Only use custom Release Tags when you need super fine-grained control over your deployment versions.
Environment Management
Creating and Configuring Environments
Environments can be created and managed through your Workspace Settings. Each Environment provides:
- Isolated API key management
- Separate release histories
- Independent monitoring and observability data
- Scoped document indexes and search results
Environment Picker
Use the Environment picker at the top of the Vellum interface to switch between different Environments. This picker controls:
- Which Environment’s data you’re viewing
- Which Environment’s releases you’re managing
- Which Environment’s monitoring data is displayed
- Which Environment’s API keys are being managed
Promoting Changes Between Environments
Vellum provides two primary methods for moving changes between Environments:
Release Promotion (Recommended)
The most efficient way to promote tested changes is using the Release Promotion feature:
- Deploy your changes to the source Environment (e.g., Development)
- Test and validate the changes thoroughly in that Environment
- Navigate to the Release you want to promote
- Click the “Promote” button on the Release details page
- Select the target Environment(s) in the promotion modal
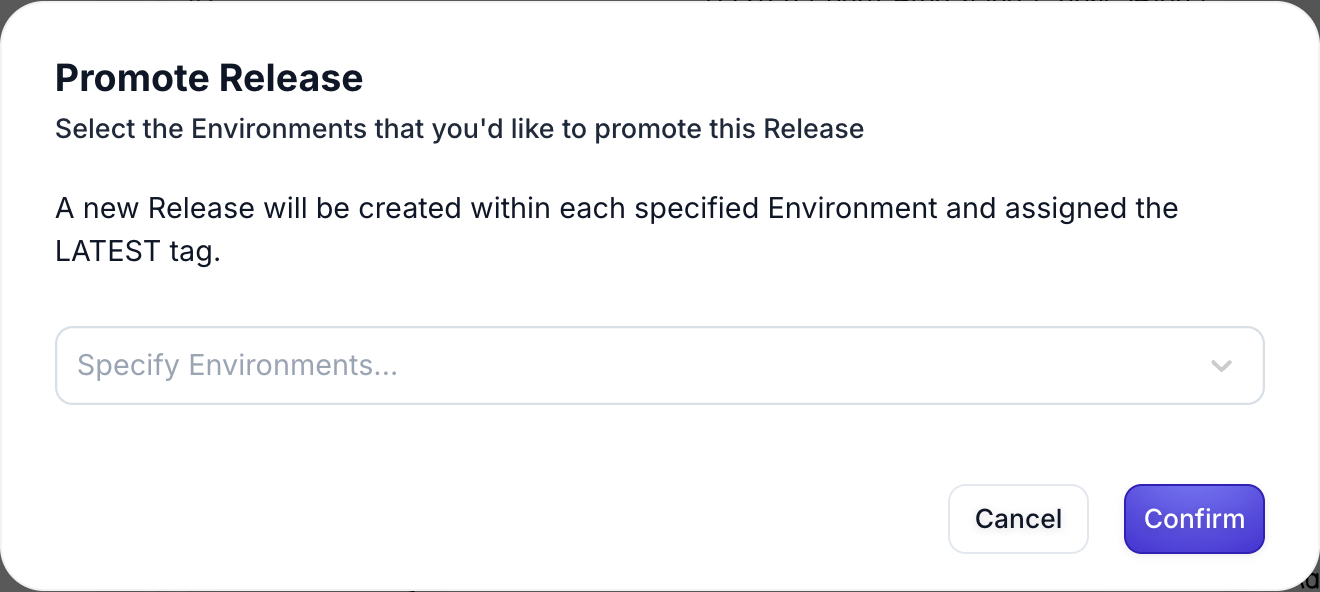
This creates a new Release in each selected Environment with the exact same configuration that you tested, ensuring consistency and reducing deployment risk.
Multi-Environment Deployment
For initial deployments or when you want to deploy to multiple Environments simultaneously:
- Deploy from your Sandbox using the Deploy button
- In the deployment modal, select multiple target Environments
- The same Release will be created across all selected Environments
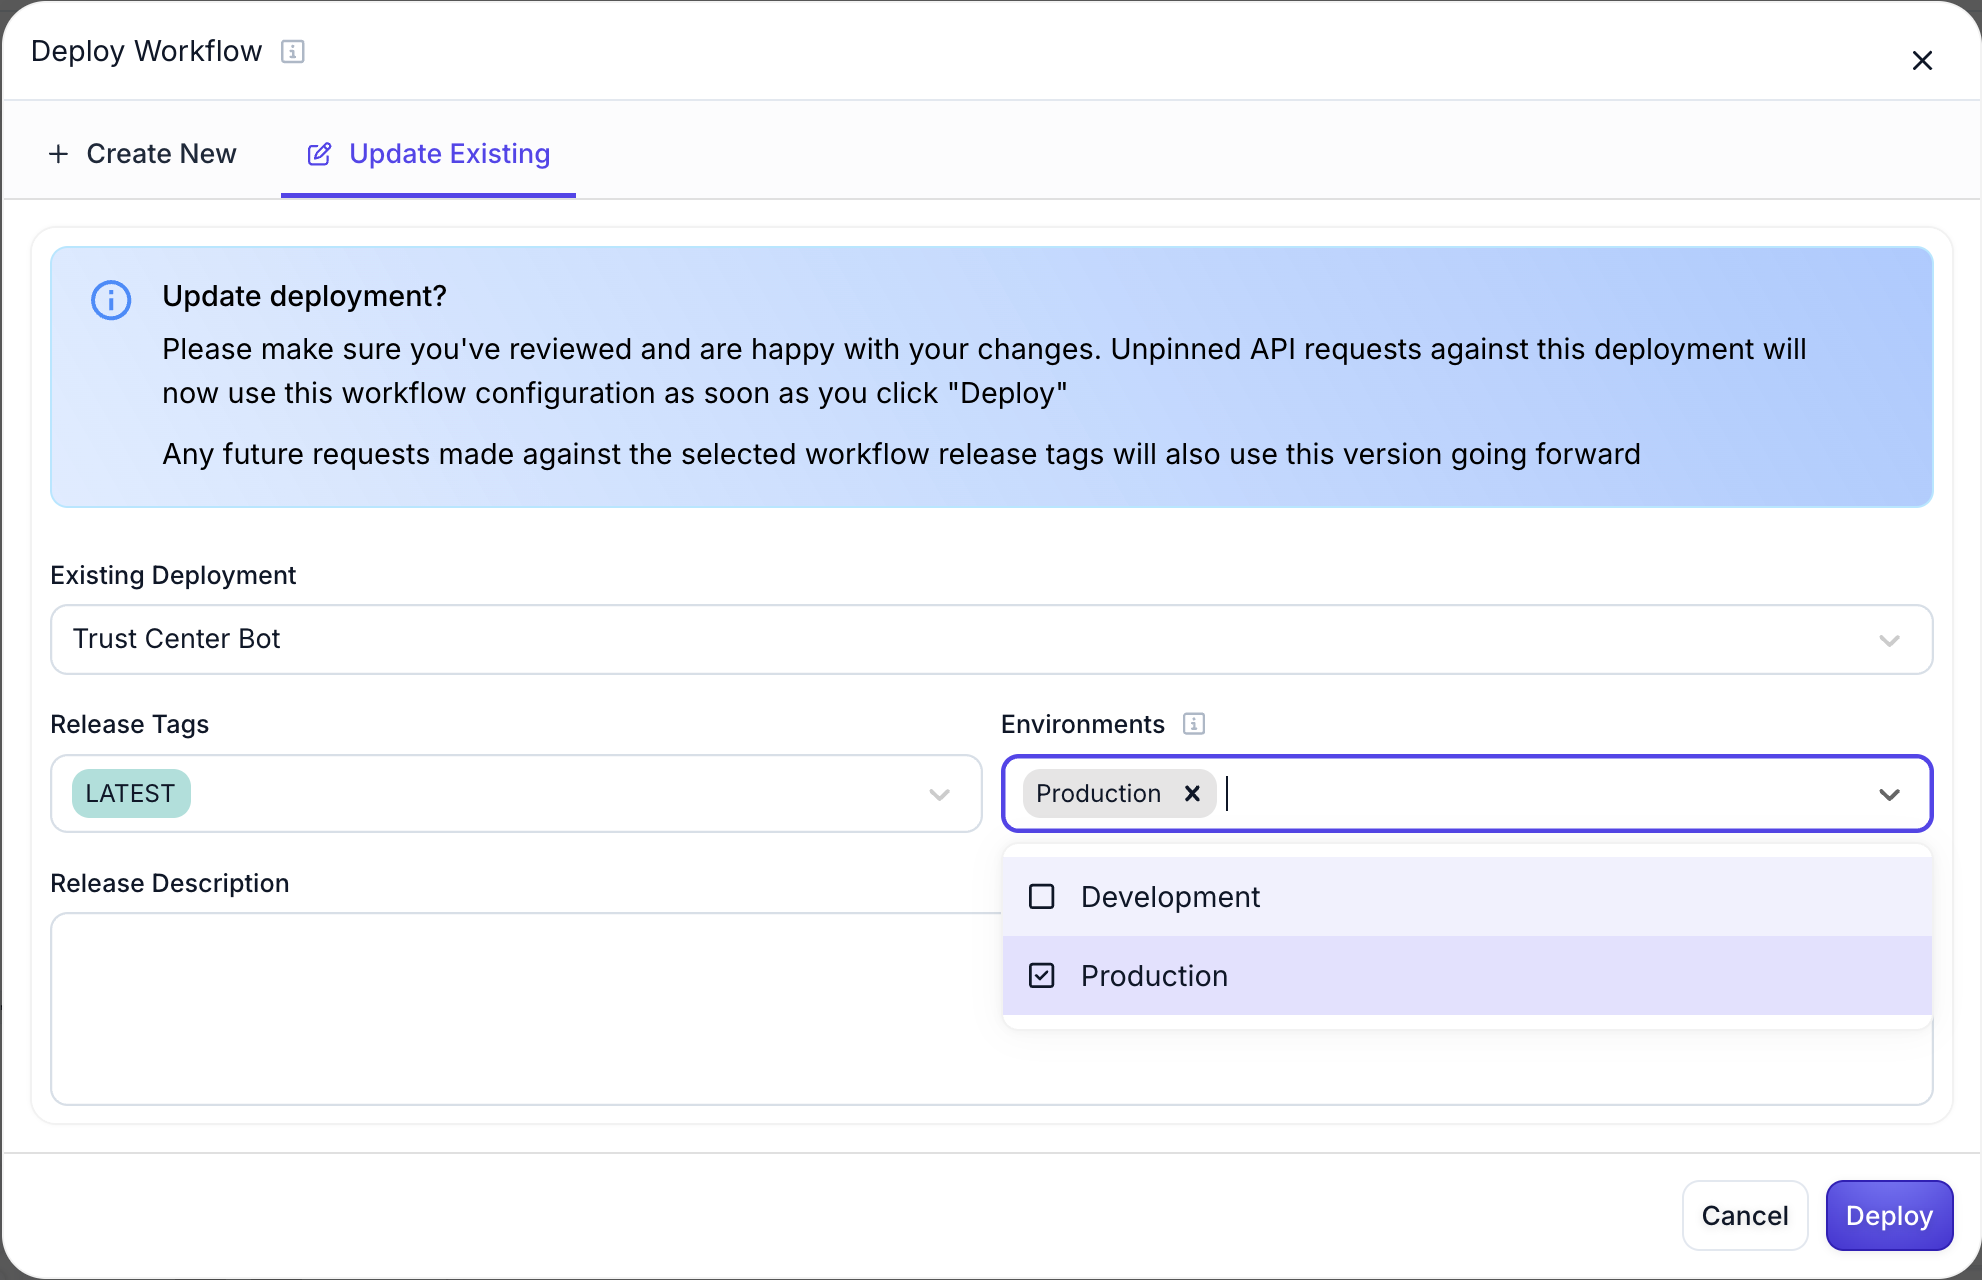
This approach is useful when you want to push updates to Development and Staging simultaneously, or when setting up new deployments across multiple Environments.
Both methods ensure that you’re promoting exactly the same code and configuration that you’ve tested, reducing the risk of Environment-specific issues.
Best Practices
Environment Naming
While Vellum doesn’t enforce specific Environment names, we recommend following common conventions:
- Development: For active development and experimentation
- Staging: For pre-production testing and validation
- Production: For live, customer-facing deployments
API Key Management
- Use separate API keys for each Environment
- Store API keys securely using Environment variables or secret management systems
- Regularly rotate API keys, especially for production Environments
- Never use production API keys in development or testing
Release Management
- Use descriptive Release Tags that follow semantic versioning
- Test thoroughly in development and staging before promoting to production
- Maintain clear documentation of what changes are included in each release
- Use the LATEST tag for most deployments to simplify your workflow
Monitoring and Observability
- Set up appropriate monitoring for each Environment
- Use Environment-specific webhooks and integrations
- Monitor costs and usage patterns across Environments
- Set up alerts for production Environments
This approach provides better organization, reduces complexity, and takes full advantage of Environment-level isolation and permissions while maintaining the flexibility to manage releases according to your specific workflow requirements.